What kind of alocasia do you have?
The genus Alocasia (family Araceae) contains over 90 species. Indoor plants sold as "alocasia" fall into two distinct groups with different care tolerances: the compact jewel aroids (typically under 60 cm) and the elephant ear giants. Knowing which group you have changes the watering frequency, the light ceiling, and the humidity floor.
Common compact jewel aroids include Alocasia 'Polly' (a hybrid with deep green arrow-shaped leaves and white veins), Alocasia reginula 'Black Velvet' (dark velvety leaves with silver venation, rarely over 30 cm), Alocasia 'Silver Dragon' (pale sage leaves with a scaly-textured surface), and Alocasia 'Dragon Scale' (large, corrugated leaves with dark veining). These are the alocasias most sold at garden centres and IKEA.
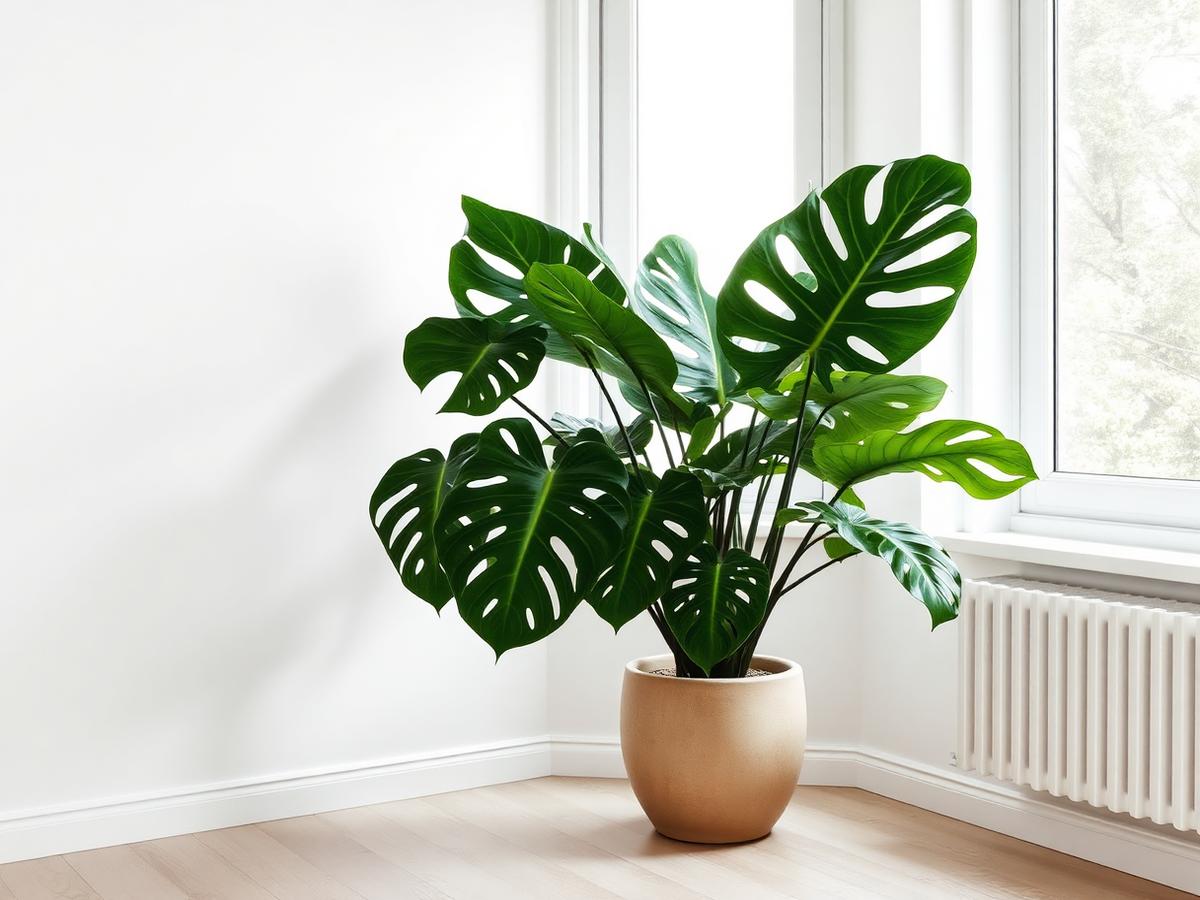
Giant elephant ear species include Alocasia macrorrhiza (giant taro, leaves to 120 cm), Alocasia odora, and Alocasia zebrina (zebra-striped petioles). These need more space, tolerate slightly lower humidity, and are less prone to dormancy in stable indoor conditions. For identification help with common cultivars, the alocasia varieties guide covers the key visual tells.
Light: bright indirect, no midday direct sun
Alocasia needs bright indirect light — roughly 1,000–3,000 lux — for healthy growth and the venation contrast that makes jewel aroids desirable. In a northern European apartment, this means within 1–1.5 m of a large south or west window, shaded from direct midday rays by a thin curtain. East-facing windows work well in summer; north windows in winter rarely provide enough.
Direct midday sun scorches the thin leaves of compact jewel aroids within an hour: pale bleached patches appear first, followed by crispy leaf margins. Giant species like macrorrhiza tolerate 1–2 hours of gentle morning direct sun. If your alocasia is pushing out small, pale leaves or long leggy petioles, the light is too low. Add a full-spectrum LED on a timer before moving the plant closer to an exposed window.
Seasonal light drop is the most common reason alocasia enters dormancy in Nordic and UK apartments. By November, a spot that read 1,500 lux in September may drop below 400 lux — below the threshold for active growth. This is the trigger for leaf drop, not a disease. If you cannot provide supplementary lighting, accept dormancy and protect the rhizome rather than fighting it.
Watering: let the top dry, never let the pot stand in water
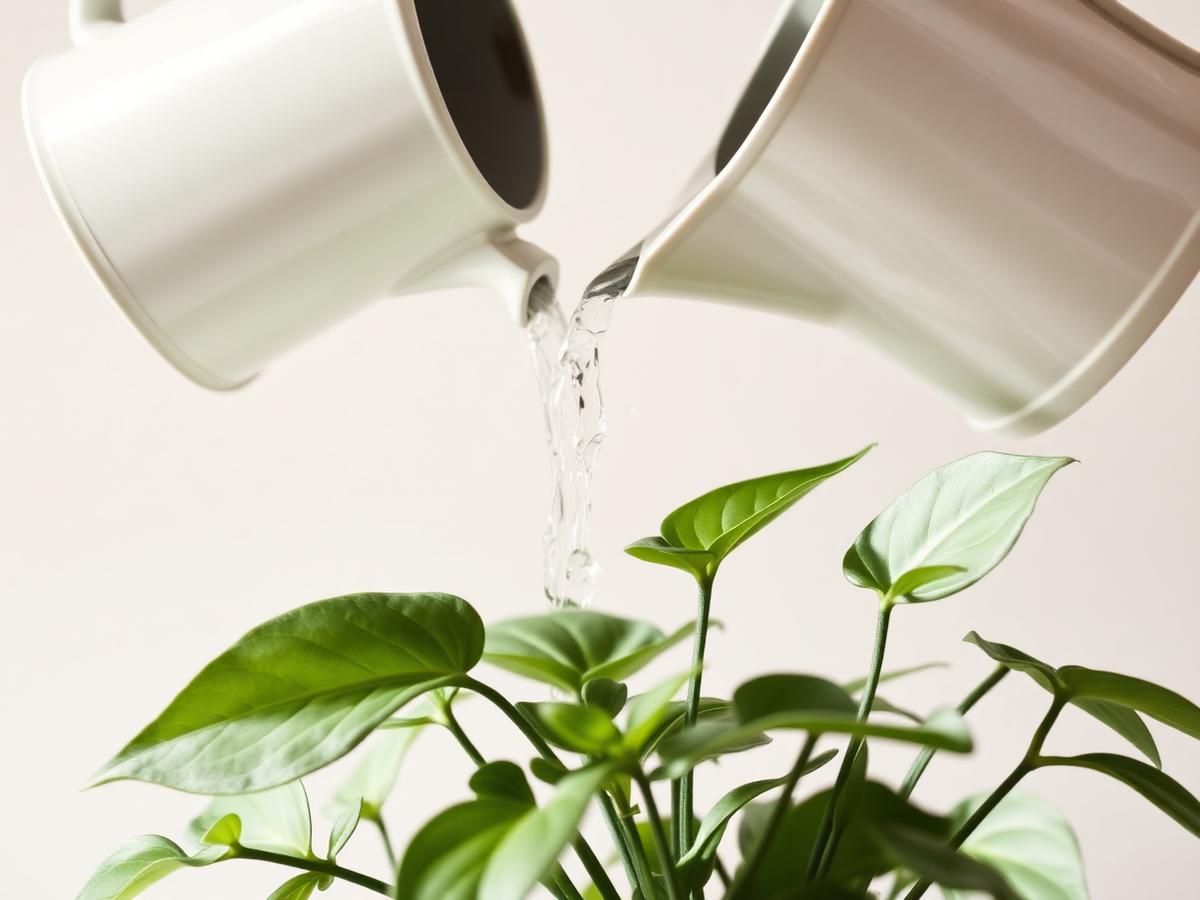
Water alocasia when the top 2–3 cm of soil is dry to the touch — typically every 7–14 days in summer and every 14–21 days in winter or during dormancy. Alocasia roots rot quickly in permanently damp soil, but the plant also droops noticeably when underwatered. The key diagnostic: a drooping alocasia on damp soil is root rot; the same droop on dry soil is thirst. Both are common, and the fixes are opposite.
Water thoroughly, letting water run freely from the drainage hole, then empty the saucer after 10 minutes. Alocasia roots need oxygen; standing water in the saucer slowly drowns the root zone and is the leading setup for root rot. Never plant an alocasia in a pot without drainage holes — use the cachepot method if you want a decorative container.
Reduce watering by around 50% during winter or when the plant enters dormancy. A rhizome in cold, low-light conditions needs almost no water — once every 3–4 weeks is enough to keep it alive without encouraging rot. If you are not sure whether the plant is dormant or dead, leave it in place and keep the soil barely moist; dormant rhizomes reshoot in spring.
Humidity: the non-negotiable
Alocasia originates in the humid tropical forests of Southeast Asia and northeast Australia, where relative humidity (RH) rarely drops below 70%. Indoors in a heated apartment — especially in a Nordic winter — the RH can fall to 25–35%. This single factor explains most alocasia failures: the leaves crisp, new growth arrives stunted, and the plant stalls.
For compact jewel aroids, target 60–80% RH. For giant species, 50–65% is usually sufficient. A small cool-mist humidifier running in the same room is the most effective single intervention. Pebble trays add 1–3% locally and are cosmetically nice but insufficient on their own. Misting wets the leaf surface for under 10 minutes before evaporating; it does not meaningfully raise ambient humidity. For a full breakdown of what actually works, see how to raise humidity for houseplants.
Position alocasia away from radiators, forced-air heaters, and air-conditioning vents — all of which create a column of dry moving air that dehydrates leaves faster than the humidity sensor in the same room might suggest. The 50 cm zone directly above or beside a radiator can run 10–15% drier than the centre of the room.
Soil, pot size, and repotting
Alocasia roots need fast drainage and good aeration. A standard peat-based potting compost holds too much moisture and is the soil most likely to cause root rot. Use an aroid mix: approximately 40% coco coir or peat, 30% perlite, and 30% coarse orchid bark. This drains within seconds after watering and dries quickly enough to avoid the anaerobic conditions that encourage Pythium and Phytophthora root pathogens.
Alocasia prefers to be slightly root-bound — a pot 3–5 cm wider than the root ball is ideal. Oversizing the pot increases the volume of damp soil around the roots, which is the most reliable way to trigger rot. Repot in spring when you see roots circling the drainage holes or the plant drying out within 3–4 days after a thorough watering. Go up only one pot size at a time.
Terracotta pots are beneficial for alocasia because the porous walls dry the soil from the outside in, reducing the moisture-retention problem of plastic. If your flat is already very dry and you struggle to keep the soil moist enough, a plastic or glazed ceramic pot compensates. The balance between drying too fast and not fast enough is the central tension of alocasia soil management.
Dormancy: why alocasia disappears and how to revive it
Alocasia dormancy is a predictable response to falling temperatures and decreasing light — typically triggering between October and January in Nordic and UK homes. The plant drops one leaf at a time until no foliage remains, leaving only the rhizome (a compact, bulb-like underground stem). This looks catastrophic but is a survival strategy the plant evolved for seasonal dry or cool periods.
To carry a dormant alocasia through winter: keep the rhizome at 15–18 °C minimum (below 12 °C can rot it), water the soil once every 3–4 weeks just to prevent full desiccation, and provide whatever light is available without letting the pot sit in cold damp soil. Do not add fertiliser to a dormant plant — it cannot absorb it and the salts will damage the rhizome.
In late February or March, as daylight increases past 10 hours, the rhizome typically pushes a single new leaf bud. This is the signal to increase watering, add a dilute feed (half the recommended dose initially), and move the plant back into its active position. The first 1–2 leaves post-dormancy will be smaller than the plant produced before; leaf size increases again as root mass rebuilds over the following month.
Feeding and seasonal care
Fertilise alocasia monthly during active growth — from March through September in the northern hemisphere. A balanced liquid fertiliser (NPK 10-10-10 or similar), diluted to half strength, applied after watering (never to dry roots), is sufficient for most conditions. Alocasia is a fast feeder when conditions are right; a slow-growing or stalled plant will not benefit from more fertiliser — improve light and humidity first.
During winter or dormancy, stop fertilising completely. Excess fertiliser in cold, low-light conditions causes salt build-up in the soil and root damage — the opposite of what you intend. Flush the pot thoroughly with plain water every 3–4 months during active growth to remove accumulated mineral salts, especially if you water with tap water.
Wipe the large leaves with a damp cloth every 2–3 weeks. Alocasia leaves are dust-magnets and even a moderate dust layer reduces photosynthesis. This is more important for giant species with leaves over 30 cm; compact jewel aroids are more manageable. Do not use leaf-shine products — they clog the stomata.
Common problems and fixes
Yellow leaves are the most common complaint and are almost always a watering or humidity issue. Yellow lower leaves with damp soil mean overwatering or root rot — unpot and inspect the roots. Yellow upper leaves with dry soil mean underwatering. Yellow leaves with crispy edges and dry soil mean low humidity combined with underwatering. The overwatered vs underwatered diagnostic applies directly to alocasia.
Drooping is the plant's fastest stress signal. Alocasia droops within hours of drying out, but also droops when root rot has damaged the ability to take up water. The test: check the soil before watering. If it is dry, water and expect recovery within a few hours. If it is damp and the droop persists, unpot and inspect the root ball.
Brown leaf edges and crispy tips indicate low humidity, fluoride damage from tap water, or fertiliser salt accumulation. Try filtered or rainwater, reduce fertiliser frequency, and increase the humidifier output. Spider mites and thrips are the pests most commonly found on alocasia — both prefer warm, dry conditions, which is exactly the environment that already stresses the plant. A weekly leaf inspection is the best early detection system.
Toxicity: keep away from pets and children
All Alocasia species are toxic to cats, dogs, and humans. The toxic agent is calcium oxalate raphides — microscopic needle-shaped crystals packed into specialised cells throughout the plant's tissues. When chewed or bitten, the cells rupture and release the crystals, causing immediate intense burning and irritation in the mouth and throat, excessive drooling, vomiting, and difficulty swallowing.
The ASPCA lists Alocasia spp. as toxic to both cats and dogs. Symptoms in pets typically include pawing at the mouth, drooling, vomiting, and in rare severe cases, airway swelling. The plant is rarely fatal but causes significant discomfort. If a pet has chewed an alocasia, rinse the mouth with water and call a vet. For a broader review of pet-safe alternatives, see houseplants toxic to cats and dogs.
In humans, contact with the plant sap can cause skin irritation. Wear gloves when repotting or trimming. Children should not be allowed unsupervised access to alocasia, particularly compact jewel aroids at reachable height.
Propagation: offsets and rhizome division
Alocasia produces offshoots — small plants (pups) growing from the base of the rhizome — which are the easiest and most reliable propagation method. Wait until the pup has at least 2–3 leaves of its own before separating it from the mother plant. Unpot the whole plant, gently separate the pup with its roots intact using a clean knife, and pot it into a small container with fresh aroid mix. Keep humidity high (above 70%) while the cutting establishes, for 4–6 weeks.
Rhizome division is possible during repotting — a mature rhizome can be carefully cut with a sterile knife, ensuring each section has at least one growing point. Dust the cut surfaces with powdered cinnamon or activated charcoal (both have mild antifungal properties) and let them callous for 30–60 minutes before potting. This method is higher-risk than pup separation because cut rhizomes are vulnerable to fungal infection in the wound.
Alocasia cannot be propagated by leaf or stem cuttings alone — unlike pothos or philodendron, a leaf without a rhizome node will not develop roots. The rhizome (or an intact offset with roots) is the essential starting point for every new plant.