What root rot actually is
Root rot is not a single disease — it is the combined result of two conditions. First, oxygen starvation: roots need oxygen as much as they need water, and soggy soil fills the air pockets that deliver it. Roots die within days in anaerobic soil. Second, opportunistic fungi and water moulds — Pythium, Phytophthora, and Rhizoctonia are the usual suspects — colonise the weakened roots and accelerate the decay. Once the roots are rotting, they can no longer deliver water or nutrients, and the plant shows symptoms of drought even though the soil is wet.
Every houseplant is susceptible. Some tolerate wet feet better than others — peace lilies and pothos tolerate more than succulents or snake plants — but there is no species that thrives in waterlogged soil indefinitely. The fix, in every case, is restoring oxygen to the root zone: dry out the soil, remove the dead roots, and repot into a mix that drains.
Symptoms above the soil
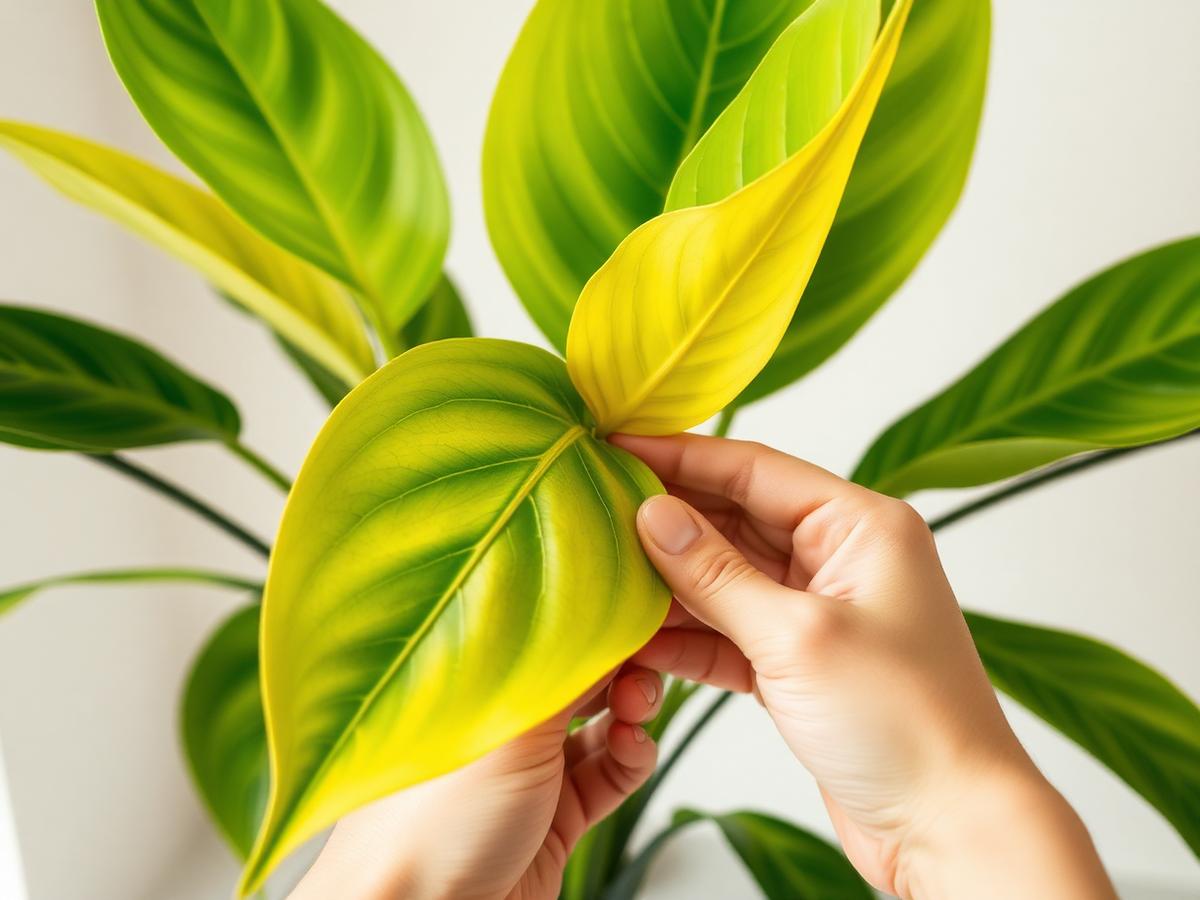
The signs root rot gives you before you unpot the plant are surprisingly consistent across species. The combination of these — not any single one — is what tells you the problem is in the roots.
- ·Soft, yellowing lower leaves that drop easily — despite the soil being damp.
- ·Wilting and drooping that doesn't recover after watering (because the roots can no longer absorb water).
- ·Stem base or soil surface feels soft or spongy to light pressure.
- ·A sour, boggy, or mushroom-like smell from the pot.
- ·Mould or fuzzy growth on the soil surface.
- ·Stunted or halted new growth despite otherwise good conditions.
- ·Slow, unexplained decline over 2–6 weeks that doesn't respond to feeding, repotting, or relocation.
Symptoms below the soil
Once you unpot the plant — which you should do at the first suspicion of root rot — the diagnosis is immediate. Healthy houseplant roots are pale (white, cream, or light tan, depending on species), firm, and give the root ball a slight elastic feel when squeezed. Rotted roots are black or dark brown, feel mushy or slimy, and pull apart at the slightest tug. You may see whole sections of root-ball where the roots have disintegrated entirely, leaving just wet soil.
A useful test: pinch a suspect root. If the outer layer (cortex) slips off like a cooked asparagus skin, leaving a thin inner thread, the root is dead. If it holds firm, it's alive — even if discoloured from mineral buildup.
What causes root rot
Four factors — often combined — cause almost every case.
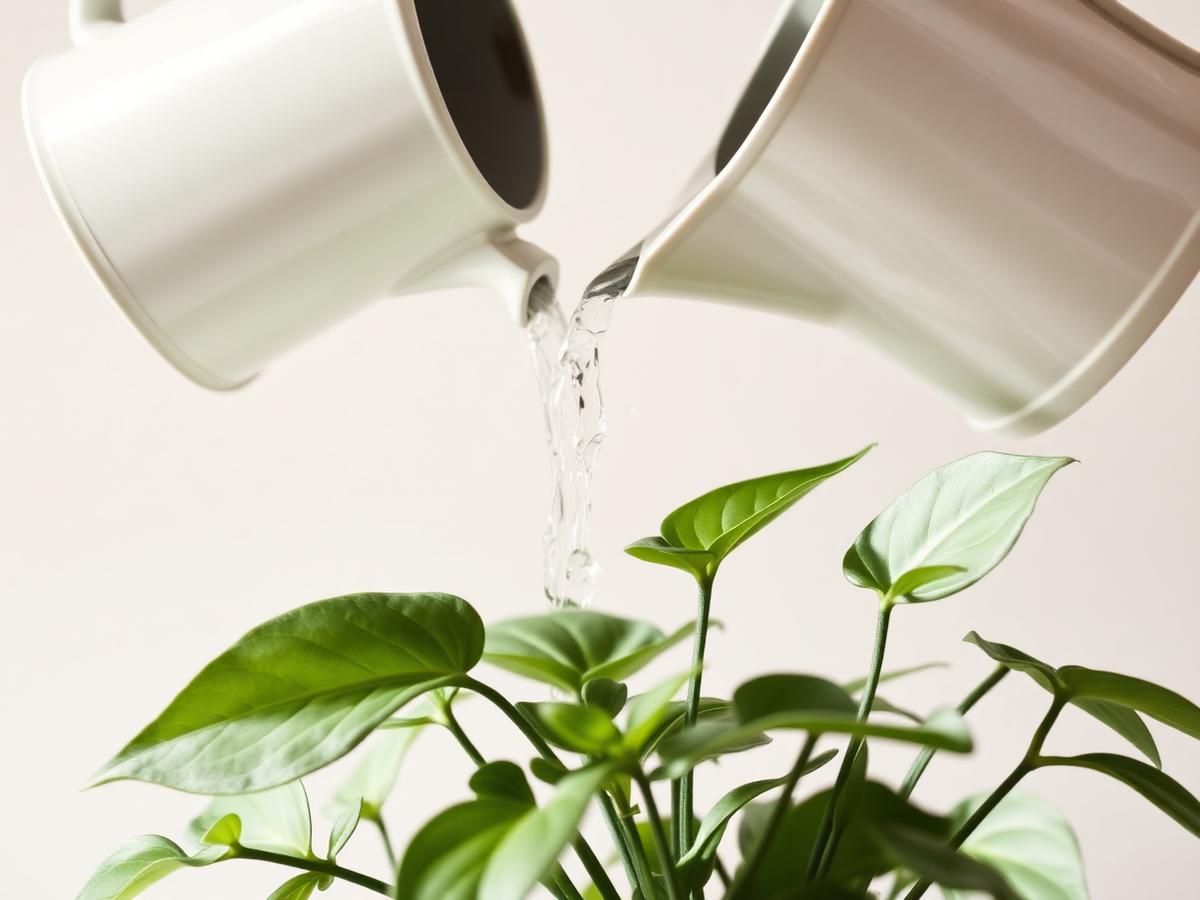
- ·Overwatering: the single most common cause. Water faster than the plant can drink and before the previous watering has dried down.
- ·Pots without drainage holes: water accumulates at the bottom and roots sit in a permanent puddle.
- ·Poor soil mix: dense peaty soil without perlite, pumice, or bark holds too much water. Big-box "universal" mixes are a common culprit.
- ·Pot too large: excess soil volume holds moisture far longer than roots can use it, creating a wet zone at the bottom roots can't reach.
- ·Cold conditions: plants use less water when cool; watering on a summer schedule through winter creates waterlogged soil.
- ·Saucer water left in place: empty the saucer 10 minutes after watering — standing water drowns the lowest roots first.
- ·Compacted or root-bound soil: water runs straight through the edges without wetting the core, creating a bone-dry pocket and a soggy one in the same pot.
The rescue procedure — step by step
This is the standard protocol. It works for most plants caught before the stem base softens.
- 1Remove the plant from its pot. Squeeze the pot sides and tip the plant out. If it's stuck, slide a knife around the inside edge to release.
- 2Gently remove as much soil as possible from the root ball by shaking and massaging. Don't tear roots — loosen soil, let it fall.
- 3Rinse the roots under cool running water. This reveals the true colour and texture of every root.
- 4Inspect carefully. Every black, brown, or mushy root has to go. Use sharp, clean scissors or secateurs — sterilise between cuts with alcohol wipes.
- 5Trim each rotted section back to firm, pale tissue. If all the roots are rotten, propagate stem cuttings instead (see below).
- 6Optional: dip the remaining roots in a fungicide solution or a 3% hydrogen peroxide rinse to kill residual pathogens.
- 7Let the trimmed root ball air-dry in a shaded spot for 1–2 hours. This seals cut surfaces and discourages new fungal entry.
- 8Repot in fresh, dry mix — one part potting soil, one part perlite, optional one part orchid bark for aroids. Use a clean pot one size smaller than the previous one.
- 9Water very lightly, or not at all, for the first 5–7 days. The plant cannot absorb much water with the reduced root system.
- 10Skip fertilizer for 4–6 weeks. Feeding a stressed root system burns it further.
What to do if all the roots are gone
If every root is mushy or missing, propagation is almost always a better option than trying to save the original. Cut a healthy section of stem with 2–4 leaves, remove the lowest leaves, and root the cutting in water or a sterile moist perlite mix. Many common houseplants — pothos, monstera, philodendron, snake plant, rubber plant — root readily from cuttings within 2–6 weeks.
This is often how long-neglected or terminally root-rotted plants are "saved": the original dies but the cuttings live on. The genetics and the sentimental value are preserved, and the new plant grows from a clean start.
Pot and soil choices after a rescue
The rescued plant has a much smaller root system than before. Sizing the pot correctly matters more than usual — too large a pot traps unused moisture around the few remaining roots and triggers a relapse.
Choose a pot one size smaller than the original. Terracotta is ideal for recovery — porous walls wick excess moisture and help the soil dry evenly. A mix with generous perlite, pumice, or orchid bark (around 30–40% of the total volume) keeps the root zone airy. Avoid fresh compost or peat-heavy mixes for 2 months while recovery is underway.
How long recovery takes
New growth typically appears 4–8 weeks after a successful rescue, with most of that time spent invisibly — the plant first regrows its root system before investing in new leaves. During this period, the plant will look static; that is normal. Watering needs are dramatically lower than before, because the root mass is smaller and the fresh airy mix dries slowly.
The clearest sign of recovery is a new leaf or a visibly firm, white root emerging through the drainage hole. Until then, resist the urge to re-repot, fertilise, or "stimulate" growth. The best thing you can do for a recovering plant is leave it alone in correct conditions.
Species-specific notes
Some species have particular tendencies worth knowing during a rescue.
- ·Pothos: Root rots slowly but recovers easily. Cuttings root in water within 2–3 weeks — often the fastest rescue of any houseplant.
- ·Monstera deliciosa: Vulnerable to root rot in peaty mixes. Use a chunky aroid mix (30%+ orchid bark) after rescue. Aerial roots can re-establish in fresh substrate.
- ·Snake plant: Rots fast and invisibly because it tolerates so little water. If the base of a leaf is soft, the rhizome is already gone — propagate remaining firm leaves in sand or water.
- ·Fiddle leaf fig: Highly sensitive to root disturbance. Trim only clearly dead roots, not borderline ones. Expect 8–12 weeks of apparent stillness before recovery.
- ·Calathea / Maranta: Small root systems make root rot rescues less dramatic but recovery is slow. Keep humidity very high during recovery.
- ·ZZ plant: Stores water in underground rhizomes. If the tuber is still firm, the plant can rebuild from nothing. If the tuber is soft, it's done.
- ·Peace lily: Often dramatic wilting at the slightest dryness; owners mistake it for thirst and overwater. Unpot early — peace lilies in rot look thirsty.
- ·Succulents and cacti: Rot fast and visibly. Cut well above the damage and let the cut end callous for 3–7 days before replanting in gritty mix. Root rot is the main killer of indoor succulents.
Prevention rules that work
Almost every case of root rot traces back to one of a few avoidable habits. Following the rules below prevents nearly all of them.
- ·Only water when the top 2–3 cm of soil feels dry — use the finger test, not a calendar.
- ·Use pots with drainage holes. If you love a cachepot without drainage, plant in a nursery pot that sits inside.
- ·Empty saucers 10 minutes after watering.
- ·Choose a soil mix that drains fast for the species. Aroids, succulents, and orchids all want chunkier mixes than standard potting soil.
- ·Size the pot right. Repot to only 2–3 cm larger in diameter at a time — a "generous" pot holds water the plant can't reach.
- ·Reduce watering 30–50% in winter when growth slows.
- ·Improve air circulation — a small fan on low for a few hours a day helps soil dry evenly and reduces fungal pressure.
- ·Bottom-water periodically to ensure the lower root ball hydrates, rather than always top-watering (which can leave bottom roots dry while the top stays damp).
When to stop trying
A plant is unlikely to recover if: the main stem base is soft or hollow; the plant collapses when lifted at the base; less than 10% of the root system is firm; the plant has been declining for more than 6 weeks without response to care changes. In those cases, propagation is the better path — salvage the genetics and start over.
Even in "hopeless" cases, a single firm cutting from the top of the plant can often be rooted in water. Monstera, pothos, philodendron, rubber plants, dracaenas, and most succulents propagate readily. The original plant may be gone, but the lineage isn't.
Root rot vs overwatering — not the same thing
A plant can be overwatered without having root rot. Overwatering is the behaviour; root rot is the eventual consequence if it continues. Caught early — within a week or two of chronic wet soil — the plant just needs to dry out and resume normal watering. Caught late, you're looking at a rescue with surgery. Unpotting early, at the first suspicious sign, is the single best habit for long-term plant health.