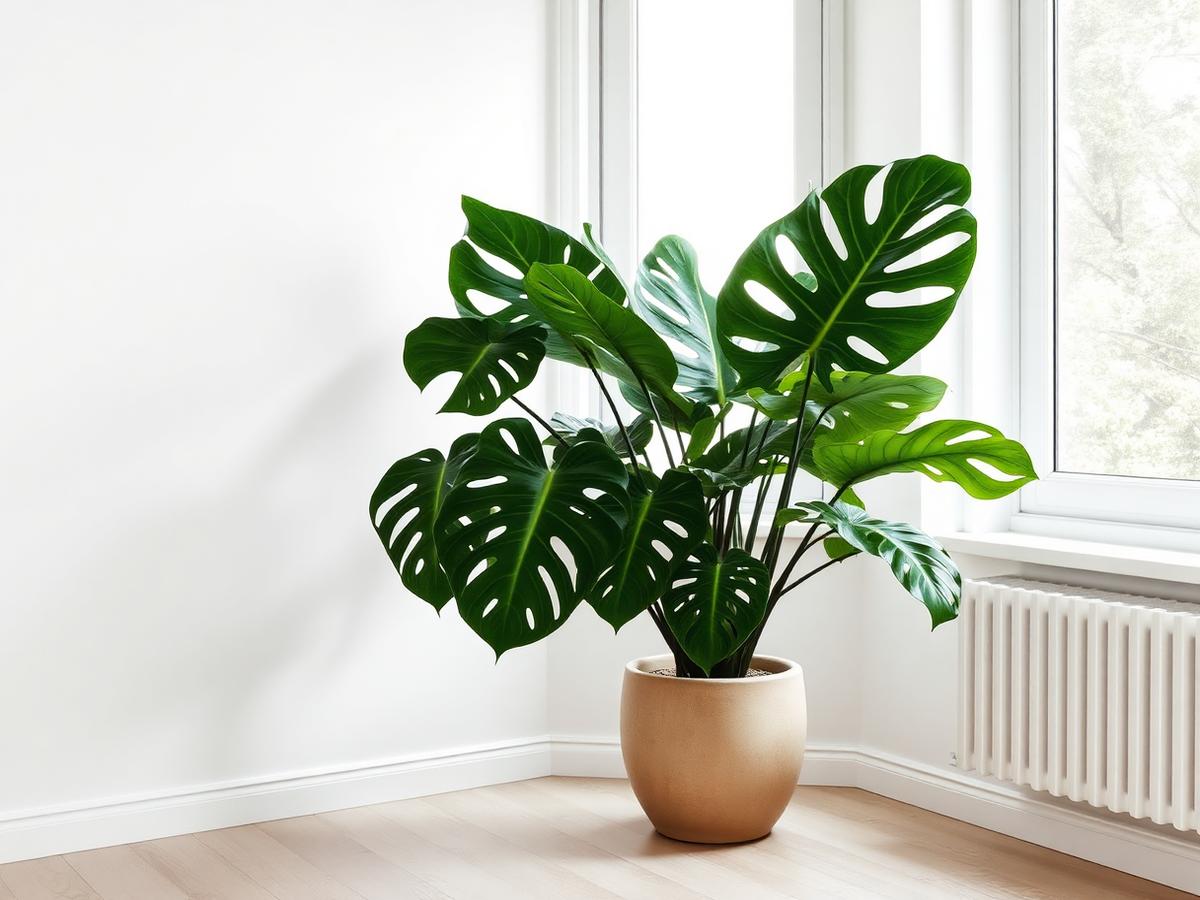
The anatomy you need to recognise before you cut
The whole technique depends on identifying three parts of the Monstera stem correctly. A node is the swollen joint where a leaf petiole emerges from the main stem — usually 10–25 cm apart on a mature plant, slightly closer on a juvenile. An aerial root is the brown finger-like structure that emerges from a node, opposite or near the leaf, and grows downward; on a healthy plant every mature node has at least a stub of one. Between the leaf and the aerial root sits the axillary bud — a small, often invisible swelling that becomes a new shoot when activated.
These three structures together make a node. The internode is the bare stem between two nodes — smooth, with no leaf, no root, no bud. Cutting in the internode produces no new growth and no rooted cutting; the plant has nothing to work with. Identifying the node correctly is therefore the entire game. If you are uncertain, follow a leaf petiole back to where it joins the stem — the swelling at that point is the node.
On a Monstera that has been climbing a moss pole or trellis, aerial roots are large and obvious. On a free-standing Monstera that has never had support, aerial roots are often smaller stubs the size of a pencil tip — but they are there at every mature node. See aerial roots on Monstera and pothos for the full role-and-trim guide.
When to prune — and when to wait
The best time to prune a Monstera is during active growth: spring through early summer in the northern hemisphere (March–July), when the plant has the energy reserves to push new shoots from the activated axillary bud and to root the cutting you take. A spring cut wakes the dormant bud within 2–4 weeks; a winter cut typically waits until March before doing anything visible.
Wait if any of three conditions are true: the plant is in active distress (recent root rot, severe pest infestation, leaf drop after a move), the plant is in a low-light room where new growth would be weak and pale anyway, or the only viable cut would remove more than half the plant's leaf surface. Pruning a stressed Monstera adds stress; pruning a starved Monstera produces the same starved plant minus the leaves. Fix the underlying issue first.
An exception worth noting: a Monstera that has gone severely leggy after a dim winter is improved by spring topping even if it looks marginal. The cut is what triggers compact spring growth — see leggy pale new growth after winter for the broader reset playbook.
The three reasons to cut a Monstera
Pruning a Monstera serves three goals, and the technique is the same for all three — the only thing that changes is where you cut. The first goal is shape control: a Monstera that is taller, longer, or wider than you want. The second is encouraging branching: a single-stem plant becomes multi-stem when you cut above a node, because the activated axillary bud produces a new shoot in a different direction. The third is propagation: the cutting itself becomes a second plant.
All three goals are usually combined in one operation. A leggy 1.5-metre Monstera with a bare lower stem becomes a 70 cm plant with two new shoots developing at the cut site, plus a separate cutting rooting on the kitchen counter. In two months, what was one tired-looking plant is a fuller parent and a juvenile second plant. This is what makes spring topping the highest-leverage hour you spend on a Monstera in any given year.
Where to cut — the 45° rule above the node
Cut 0.5–1 cm above the node, at roughly a 45° angle. The angled cut sheds water rather than pooling it in the wound, which reduces the chance of stem rot at the cut site. Going too close to the node (under 5 mm) risks damaging the dormant bud you want to activate; going too far above the node (over 2 cm) leaves a long stub of dead stem that browns back over the following weeks and looks ugly until it does.
If your goal is propagation as well as pruning, plan two cuts: the parent cut (above a node, leaves the dormant bud on the parent) and the cutting cut (below a node, takes the node onto the cutting). The cutting needs at least one full node — leaf, aerial root, axillary bud — to root and grow. A single-leaf 'wet stick' cutting with no node will never produce a new plant; the plant has nothing to grow from.
Avoid cutting flush against another stem or against the soil surface. Monstera stems do not heal fully flush cuts well — the wound stays open longer than it should and the plant is more vulnerable to fungal entry. The 0.5–1 cm stub above a node is a small cosmetic compromise for a much cleaner heal.
Step-by-step: from cut to rooted cutting
The whole operation takes about 20 minutes for a single plant, plus 3–6 weeks of waiting while the cutting roots. The materials list is short — sharp clean scissors or pruners, 70% isopropyl alcohol, a glass of room-temperature water, and a clean spot to set the cutting. No rooting hormone needed; Monstera cuttings root reliably without it.
- 1Identify the node where you want the parent to push new growth. Sterilise the blades with 70% isopropyl alcohol.
- 2Make the parent cut: 0.5–1 cm above the chosen node, at 45°. The remaining plant is now your topped parent.
- 3Trim the cutting: count down 2–3 nodes from the cut, then make a second clean cut just below the lowest node you want on the cutting. The cutting now has 2–3 leaves, 2–3 nodes, and at least one aerial root or root nub.
- 4Place the cutting in a glass of room-temperature water, with all nodes submerged but no leaves touching the water (rotting leaves contaminate the water and slow rooting).
- 5Set the parent in its usual spot — bright indirect light, normal watering schedule. Set the cutting somewhere bright and warm (20–24 °C) but out of direct sun.
- 6Change the cutting's water every 5–7 days. Roots emerge from the submerged nodes in 10–21 days; when they reach 5–8 cm, pot the cutting into a chunky aroid mix.
- 7Watch the parent for new shoot activity at the cut node — usually 2–4 weeks in spring, longer in autumn.
What to expect from the parent plant
After a clean spring cut, the dormant axillary bud at the node directly below the cut activates within 2–4 weeks. You will see a small green or pinkish swelling emerge from the leaf axil; over the following 4–8 weeks it extends into a new stem, and a new leaf unfurls from the tip. In strong spring light, you sometimes get two shoots from the same cut — one from the topmost remaining node, another from the node below it.
Do not panic if nothing visible happens for the first 3–4 weeks. The parent plant is reorganising its growth allocation internally, redirecting energy from the lost upper canopy to the buds it now needs to wake. The usual mistake is to interpret the visible pause as a problem and start fertilising or watering more — both of which add stress without speeding up the bud activation. The plant decides the timing; you set the conditions.
If 8–10 weeks pass with no visible bud activity at all, the most common cause is light. Monstera back-budding is light-driven; in a dim corner, the plant has the energy to maintain existing leaves but not to push new shoots. Move the parent to brighter indirect light (5,000–10,000 lux — see understanding light levels) and the response usually comes within another month.
Common mistakes
The most frequent mistake is cutting in the internode rather than above a node. The cutting has no node and never roots; the parent has no clean activation point and pushes no new growth. The result is a plant with a permanent dead stem section and a useless 'wet stick' on the counter. Always identify the node first; cut above it second.
The second most frequent mistake is taking too small a cutting. A single-leaf cutting with no node, or a cutting where the only node is the topmost one (no spare nodes below), strikes poorly because there is little reserve energy. A cutting with 2–3 nodes and 2 healthy leaves is the sweet spot — enough leaf surface to photosynthesise during rooting, enough nodes to be redundant if one fails.
The third mistake is pruning too late in the year. A Monstera cut in October or November is unlikely to back-bud before March, and the cutting often sits in water for months without rooting because the day length is wrong. If a leggy autumn Monstera is bothering you, wait. The same cut in March pays back faster than the same cut in October.
After-care for the cutting (water vs sphagnum vs perlite)
Water rooting is the most popular method because the roots are visible, but it produces 'water roots' that have to acclimate to soil when potted up — usually with a brief period of leaf droop in the first week of potting. Sphagnum-moss rooting (kept moist in a clear container with airflow) produces roots already adapted to a soil-like substrate and tends to transition more cleanly. Perlite or LECA rooting sits between the two — see LECA vs soil vs semi-hydro for the deeper substrate comparison.
Whichever method you choose, do not pot the cutting up before the roots are 5–8 cm long with at least 2–3 visible side branches. Roots shorter than that struggle to support the cutting through the transplant transition, and the plant often regresses. Patience here pays back over the following six months.
Once potted, treat the new plant exactly like any other Monstera — bright indirect light, water when the top 2–3 cm of soil is dry, normal feeding from the second month onward. The full long-term care is in the Monstera deliciosa care guide.